Monday 8 February 2016

Off Centre Gatefold Card Tutorial


Off Centre Gate-fold Card


Hi There I haven't blogged in such a long time, I almost forgot how to!! Today I am posting a tutorial for an off centre gate fold card, this style of card is quite simple to make but its unusual so it makes it a little more interesting than the usual A5 card but it will also fit into a C5 envelope or if you want to make it really special you could make a box for it.
 

You will need: 

2 x A4 white card
1 x A4 coloured card (I used holographic)
2 x A6 Coloured card
Ribbon, enough for a  bow and some to wrap around A6 card
1 x Charm & Small piece of ribbon
Printed Image
Double sided tape
Hot glue gun
corner punch/ corner scissors


Method

1. Score your card on the A6 Gatefold line of your scoreboard, fold and give the fold a tight crease with your bone folder.


2. Line the card on your scoreboard with the edge you have just folded to the top of the board and score along the A5 Line, fold and crease as before, this is your card base.
 
 
3. Using your paper cutters trim the coloured card and the second sheet of white card so they will fit the front two flaps of the card leaving a small border around each, emboss the white Layers. Punch the four outside corners if you like. Mat and layer and adhere to the front of the gatefold card.
 
4. Cut and emboss a piece of white card to fit on to the A6 leaving a border around the edge. Punch the corners if you wish. Add some ribbon around the centre.


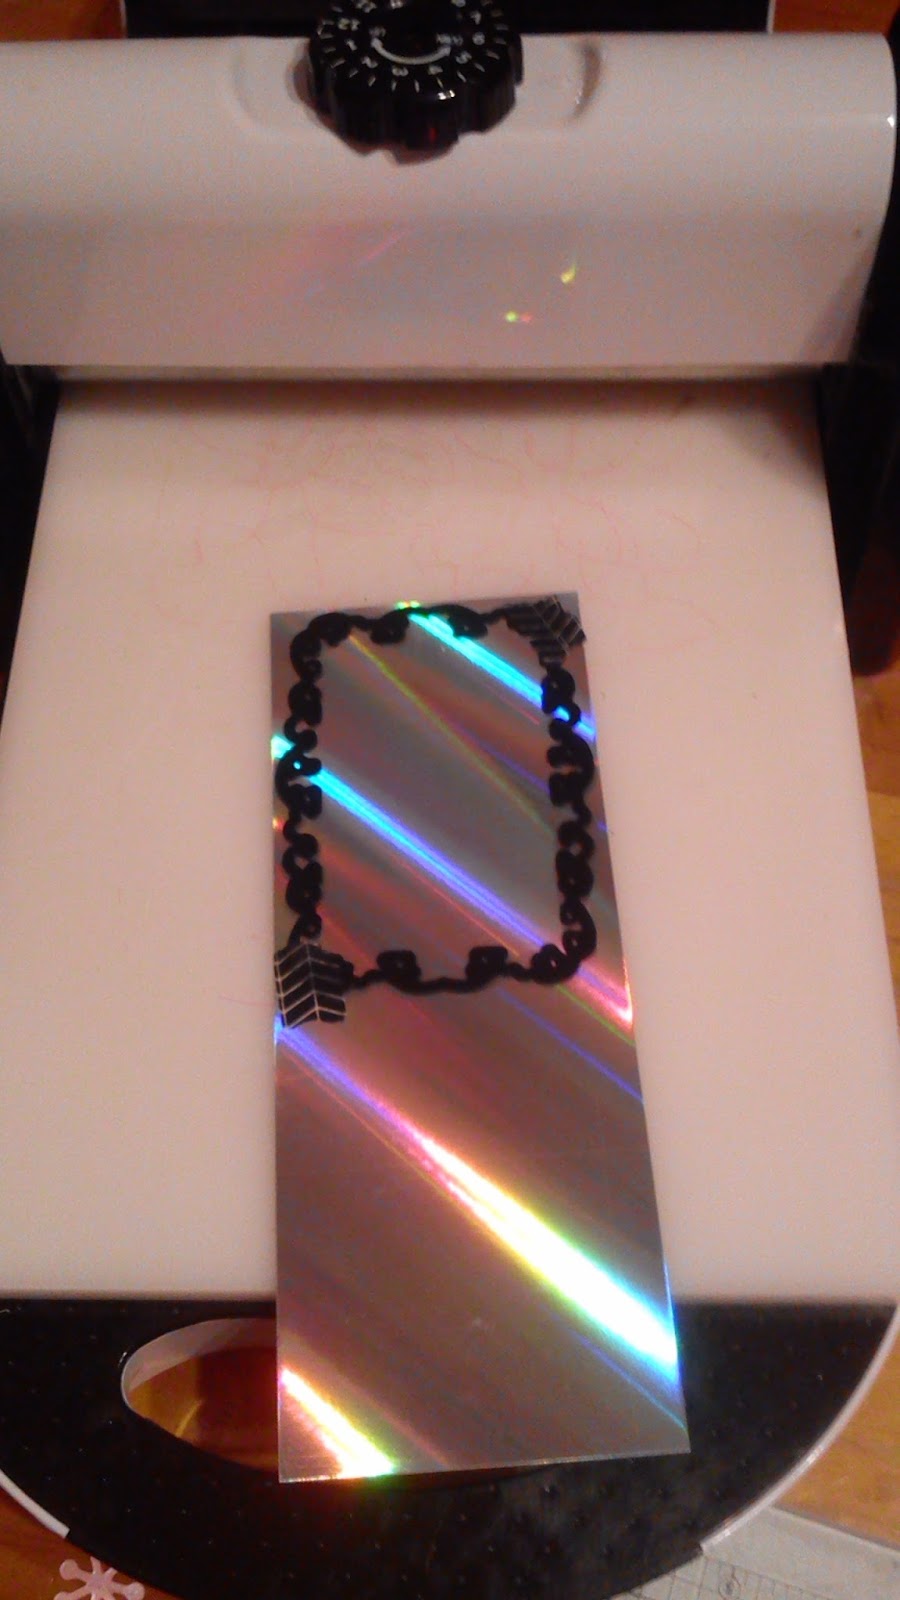
5. Die cut your printed image and from the second A6 coloured card die Cut a shape big enough to mat and layer your image onto.


6. Layer all these pieces together, at this stage you can add a mounted sentiment too if you wish.
 
7. To adhere to the front of the card use Double sided tape but only put it on one side of the card,
 
8. To make the bow I followed instructions on Yvonne Tune's blog
added a heart charm, glued it altogether and to the front of the card using the hot glue gun


9. To finish print off a suitable verse and mat and layer it to the inside of the card
 
 
Thank you for visiting today if you have any questions please don't hesitate to ask
 
Nicola


Monday 17 March 2014

Challenge #33


Lá Fhéile Pádraig Sona Duit
Happy St. Patrick's Day to you all
Welcome to another challenge over at Through the purple haze challenges
Thank you to everyone who entered last weeks challenge, once again we were over whelmed by the amazing projects you shared please keep them coming.
This week our theme is Anything goes with an option to Bing It Up and we have two fantasic sponsors
 Digital Delights and Time For Tea Designs
Prize $5


Prize 5 Digis

I got this beautiful digi First date to work with and because we are celebrating St. Patrick's Day here in Ireland today I decided it would be fun to give her an Irish twist


I Coloured the Image using  My PromarkersHair: Henna
Cinnamon
Blush
Primrose
Vanilla
Skin: Coral
Pastal Pink
Blush
Ivory
Dress: Cinnamon
Henna
Grass Green
Shoes: Primrose
Buttercup
Yellow
Socks: Cool Grey 2, Blender Pen

 The Shamrocks are made with heart shapes punched from green sparkly paper.

The Flower is made from wired organza which has been ruffled and glued together
with hot glue the centre is a die cut from the same sparkly paper and all finished off with some bling

Challenges I wold like to enter this card into are :
connie can crop Green with envy
one sweet challenge We all scream for green
cagi challenge St. Patrick's Day
glitter n sparkle challenge Include some green/ St. Patrick's Day
craft for the craic Something that includes green


Thank you for stopping by and enjoy however you spend today
Until next time
Nicola

Monday 10 March 2014

Challenge #32


Good morning all first off I would like to say "Thank you" to everyone who stopped by during the past week and a special mention to those of you who left comments, I really appreciate getting feed back on my work, or even if its just a quick hello, it's nice to know that people have taken the time to visit my blog. 

We were thrilled with the amount of entries we had for last weeks challenge over 90 beautiful projects, our job choosing our favourite is becoming near on impossible, in a good way of course :)

Prize 5 images
DT Prize
This week at Through the purple haze challenges we have a double team challenge and we are very lucky to have two fantastic sponsors  who both gave us images to work with so we've had a very busy week indeed with lots of fab creations from our DT

For my Milk Coffee card I got the beautiful Fairy queen stamp to work with and this is what I made with her

I coloured the image using Promakers in sepia tones the colours I used were
  • Dress - Shale
  • Cinnamon
  • Dusky Pink
  • Satin
  • Hair - Shale
  • Primrose
  • Vanilla
  • Skin - Dusky Pink
  • Blossom
  • Ivory
  • Blender pen
  • Gold Gel Pen for wand and crown


The card is an A6 cream card layered with brown card and the top layer is embossed with a floral embossing folder. I handmade the large white flower the others are from my stash as is the ribbon and bling  The sentiment is from crafts u print.


Challenges I would like to enter this card in to are:
The abc-challenge - G is for girls
Bearlymine-challenges. - One for the girls
cardsgalorechallenges - Use a stamp or digi
Ilovepromarkers. - One for the girls


My second card is made from a free printable  from Crafts u print this link will take you to the four free sheets they have available for everyone to download so be sure to visit them.  

When you download the sheet it is full A4 size with decoupage elements and sentiments. The beauty of this type of crafting is you can resize and use as you desire. I shrunk it right down to make a topper from it and added Music note punch outs and layered it onto contrasting coloured card


The card base is DL size white card which has been matted and layered with a wine coloured card and white and purple floral card (both from Payper box). I used a papermania multi punch to add the corner detail and I  finished the card with a purple coloured wide ribbon and bow. 

Challenges I would like to enter this card into are :
Bearlymine-challenges - One for the girls
Treasuredtimesrubberstampschallenges - Anything goes with lots of layering

Thank you for visiting today and don't forget to stop by the main Blog for more fantastic inspiration from my fellow DT
Until next time 
Nicola xx


Monday 3 March 2014

Challenge #31


Good morning all I am back today with another challenge from Through The Purple Haze Challenges
This week we are sponsored by KennyK who have kindly offered a prize of 3 Digi stamps for one lucky winner our theme this week is "Use a Digi" I was given this Gorgeous stamp to play with and this is how I coloured her using my Pro markers


The colours I used were
 Hair - Cool Grey 5
Black
Cool Grey 4
Cool Grey 3
Cool Grey 2
Cool Grey 1
 Skin - Pastel Pink
Blush
Ivory 
Cheeks - blossom
Lips - Maroon
Berry Red
Eyes - Cobalt Blue
Aegean
Denim Blue
Indigo Blue
Blender Pen

The card is a basic 15cm square card and I added layers of paper and embossed card to introduce texture 
The side border was inked and a ribbon added.  The stamped image was cut and adhered using foam pads and the diamante swirls were from my stash.


Challenges I would like to enter into are :

Thank you for stopping by today please pop over and check out what the rest of the DT have made on the blog and maybe you will enter your own creation
Until next time 
Nicola xx

Monday 24 February 2014

Challenge #30


Good Morning All
Today we have a new challenge starting over on Through the purple haze challenges 
and this week we are sponsored by Derwent 


Our theme is use a "Pencil Coloured or Drawn Image"
And the prize for one lucky winner is a Creative Card Pack
So get your pencils out and get colouring!!

Firstly I would just like to say I have never coloured with Colouring Pencils before, bar a brief trial of water colour pencils a couple of years back, so this was a real challenge for me but one I thoroughly enjoyed and I will definitely try again. 
I only had ordinary colouring pencils but I was unsure how to use them so I turned to my good friend "google" to get some well  need advice and I soon discovered that I would need Low Odor Mineral Spirits and  a Paper stump as far as I knew I didn't have either of them to hand so I needed to find some alternatives upon further investigation I realised that White Spirits would so the job just as well and I came across This tutorial on how to make your own Paper Stump.
So I stamped my image, from Craft works Cards, in black staz-on ink onto super smooth white card and I began colouring, I used 7 pencils in total 
Black
Grey
Purple 
2 Shades of Green
2 Shades of Blue


I began laying down the colour in the darkest areas and blending with the white spirits and the paper stumps, continuously adding shading as I went along. I was very pleased with how my image turned out considering it was my first time to use this technique. 
 Below is the finished card after I added the Pencil coloured image
The base of the card is a purple 15 x 15 cm square card, the Patterned Paper is from a set I received free with a magazine, this was matted and layered onto purple card and finished with a Wide organza ribbon/bow and a diamante swirl from my stash


Challenges I would like to enter this into are:
A Gem of a challenge Spots and Strips
Treasured times rubber stamps challenges Anything goes with layers
Chocolate coffee cards Teddy Bears


Please stop by the Challenge Blog and check out all the fantastic project by my fellow DT 

Until next time 
Nicola xx

Monday 17 February 2014

Challenge # 29


Morning all its challenge time again over at Through the purple haze challenges this week our theme is Embossing and our prize of £10 coupon is sponsored by My mums craft shop


I decided to use my Glittergirls Bookatrix Embossing board to make the card base


I embossed several layers in white black and Art Deco paper from Papermania
the image is also a Papermania Stamp which I stamped on to white card and coloured using my promarkers

Hair: Shale
Cinnamon
Henna
Primrose
Skin: Pastel Pink 
Blush
Ivory
Cool Grey 5,4,3,2,1
Black
Blender

After colouring I used Sakura green gel pen to highlight the feathers on the ladies dress and her head piece 
I also used versamark pen and enchanted gold embossing powder on the same areas.


After cutting out the image I covered it completely with embossing ink and clear embossing powder and heat embossed it.

To finish I used Diamante Flourishes, Spellbinder die cuts, Ribbon and Roses

Challenges I would like to enter this card into are:
crafting when we can challenges Lots of bling
The squirrel and the fox Love
Lothian crafts Love using your dies


Thanks for stopping by today and please pop over to TTPH and see the fab creations from my extremely talented teamies

Until next time 
Nicola xx

Monday 3 February 2014

Challenge #27


Good morning all challenge #27 is starting over Through the purple haze 
This week our theme is "Love is in the air" and we are sponsored by the lovely 
We got a choice of digis to choose from and I chose the adorable Bubble bath Sassy

And this is what I made


The image was coloured with Promarkers
Skin : Pastel pink
Blush
Satin
Hair: Cinnamon 
Shale
Henna
Eyes: Cyan, sky blue
Bath: Cool grey 5,4,3,2,1 and blender pen
Bubbles: Cool Grey 3,2 and blender pen


The card is a purple colour side step card and the background card is white with purple  flowers both from Payper Box, the layer of card the digi is sitting on is white pearlesant paper with has been put through a bubble embossing folder which had been lightly inked with purple ink, then clear embossing powder was added and heated to give a slightly wet like effect


I highlighted the bubbles by using a versamark pen and heat embossing with clear embossing powder


The card was finished with a computer generated sentiment, a small handmade bouquet of flowers,
a Purple Ribbon and some diamantes from my stash


Challenges I would like to enter this into are:
That craft place -Valentine/Love
cards galore challenges - Gem/ glitter/candy/bling
doodle pantry blog. - Any digi goes
the crafting cafe - Embossing

Thanks for stopping by today and please take a trip over to TTPH to see the fab creations from my fellow DT members and perhaps you will even enter into the challenge

Until next time 
Nicola xx